
Easy Robotics with a 3D Printer and Raspberry Pi
It’s pretty cheap and easy to make something fun.
My son Owen (7) and I have had fun making simple remote-controlled robots together using a 3D printer and a Raspberry Pi. The great thing about this approach (compared to kits like Lego Spike Prime) is that there are essentially no limits to what components you can use and what you can build.
Multiple people have asked me to write up how we made our most recent robot. Thus this post.
The best way to explain what our most recent robot does is to see a video:
In short:
It has Mecanum wheels that let it go sideways, forwards, backwards, and rotate.
It’s controlled by a bluetooth game controller.
The processing is done with a Raspberry Pi Zero 2w
The power is supplied by two USB power banks, one for the Pi and one for the motors
The motors are driven by two L298 motor controllers
The body is printed on our Creality 3D printer, using modular parts you can screw together.
It’s currently directed by the game controller or simple python scripts, but we have plans to add a camera and microphone and have it follow arbitrary voice instructions, using OpenAI APIs
Owen gave me directions about what he wanted, watched me design the 3D parts, screwed the parts together, wired it up, and soldered the wires to the motors.
To understand how we ended up at this design, it’s helpful to know about the robots that came before:
We’ve played with various programmable robots like mBot. These are fun, but you can’t modify them much once you get bored with what they can already do.
Owen did a few classes using Lego Spike Prime. This seems like a good kit, but it costs $400, and you are mostly limited to the simple lego components that come with it, and can’t play with things like cameras, microphones, touchscreens, time-of-flight cameras, powerful motors, etc.
Some friends seem to enjoy FIRST Robotics which gets more serious, but the starter pack for that costs $3000, which is a bit much if you aren’t sure how much your kid will actually get into it.
Our first Raspberry Pi robot used a simple kit we got from Amazon. This was fun, and gave us a basic sense of how to build something with a Pi, but to really have fun we wanted to make our own chassis.
We made a robot with a custom-designed 3D printed body, but we found it was annoying to have to wait hours to print a new body every time we wanted to experiment. Also being all one piece made the 3D model complicated, which made it hard for Owen to contribute to the design.
Thus we ended up with a modular design, where we designed lots of super-simple parts that Owen could screw together to gradually modify and improve his robot.
Now for some more details about how it works:
Photos


Body: Modular 3D Printed Chassis
The design is made out of multiple 3D printed components:
A main body that can hold electronics inside it, and have various things screwed onto it
Holders for motors, USB battery packs, the Raspberry Pi, and the motor drivers
A lid for the top, which can also have things attached to it.
Side and front panels
You can download Autodesk Fusion designs for all these components here.
Each of these components have holes at 1cm intervals, to allow them to be easily screwed together using standard self-tapping screws. Our current design assumes m2.5 screws, but if I was to do it again, I might use m3, since they are stronger and more easily available.
The modular nature made it easy to make quick fixes when it turned out something wasn’t right without having to wait for a long print. This is particularly useful when making holders for external components, which have to fit just right. It also allows one to easily modify the design to change what components it has, or re-position the components.
Most importantly, it allowed Owen to have lots of fun screwing the different parts together.
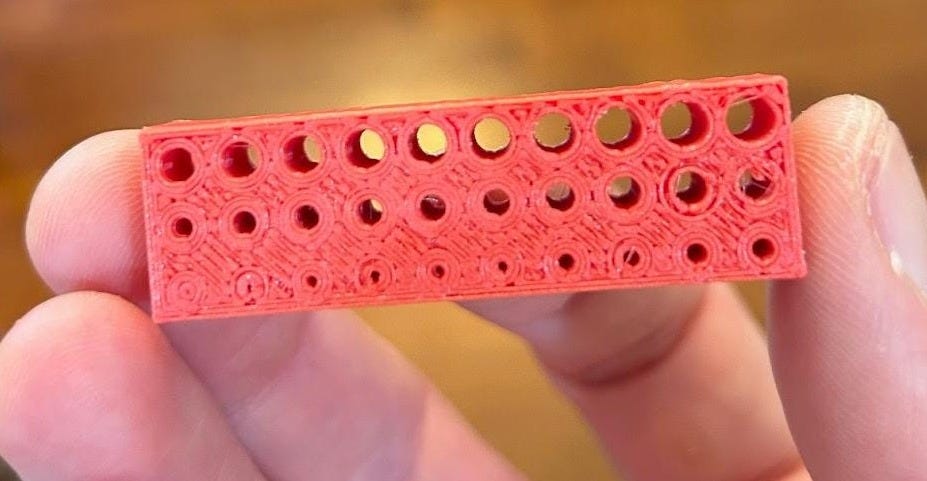
3D printers have a tendency to print screw holes a little smaller than the size in your design. To make sure we had the right size holes for our screws, we first printed a hole tester with lots of different size screw holes:
3D CAD Software: Autodesk Fusion
The great thing about Autodesk Fusion is that it’s free for personal use and extremely powerful. Some people prefer Onshape which also has a free plan. I haven’t tried Onshape so can’t say much about which is better. Owen finds Fusion a bit overwhelming, but his older brother Isaac (9) has got pretty good at using it. We previously tried using Blender, but found it wasn’t well suited for this use case.
Processor: Raspberry Pi
The device is controlled by a Raspberry Pi Zero 2w. This is less powerful than the regular Raspberry Pi 5, but it’s cheaper, smaller, less power hungry, and more than sufficient for this use case. Some people like to use an Arduino, which is ever cheaper, smaller, and less power hungry, but I think it’s too under-powered for the kind of interesting stuff we’d like to do down the road. Plus the Raspberry Pi was designed by my grad school office-mate, so I’m biased.
To begin with, we programmed it by connecting a monitor and keyboard directly to the Raspberry Pi, but found that it got pretty cumbersome if you also want it to be able to drive around. A much better approach is to run Visual Studio Code on your laptop and have in sync with the Pi over SFTP so you can edit the code over wifi. To do this, make sure you enable SSH and enter your wifi details when you burn the boot SSD for it (don’t buy a pre-loaded SSD).
Another great thing about the Pi is it’s pretty easy to pair a regular bluetooth game controller with it. We used the Gamesir T4, but I think pretty much any controller will do. You can pair the controller pretty easily using the “bluetoothctl” command line tool, and use the “evdev” python library to listen for controller commands.
Coding: Python with help from GPT
The Raspberry pi has a set of easy to use libraries for controlling motors using it’s General Purpose IO (GPIO) pins, and listening to game controllers over bluetooth.
GPT4o is pretty good at writing code using those libraries so we had GPT mostly write the code for the robot for us. GPT also told us how to use systemd to run our program automatically when the robot powers up and how to disable unnecessary service so the pi boots up fast.
You can find the full code here.
Motor and Drivers: L298 + TT Motors
The Rasperry Pi’s GPIO pins don’t put out enough power to drive a motor directly, so you need to go through a motor driver. In our case, we used the simple and cheap L298. Each one can drive two regular motors (or one stepper motor), and is super simple to use. You just wire it to power, wire it to the motors, and wire it to your chosen GPIO pins and it works.
We used the TT (toy type) motors that came together with the Mecanum wheels we bought. We had to solder wires onto the motors, which Owen had lots of fun doing. If you hate soldering, you can also buy motors with wires already soldered on.
Power: 2 USB Power Banks
We use a separate power supply for the Pi and the motors. It’s possible to power both off the same power supply, but then you have to worry about the motors drawing so much power that they make the Pi crash, so it’s simpler to power them separately.
To begin with, we used rechargeable AA batteries to power the motors, but those are heavy and drain fast, so we switched to using USB battery packs for both the Pi and the motors. You can connect a USB pack to the Pi with a regular MicroUSB cable, but to power the L298s, we needed a USB to bare power wires cable.
A regular USB battery pack is fine for the low-power TT motors we are using. If we wanted to drive something more serious then we’d probably want to use lipo batteries which put out a lot more power and have better power-to-weight ratios. But you have to be careful to manage them correctly on they can explode, so it seemed best to avoid them for a device being assembled by a 7 year old.
Conclusions
It was a fun little project, and Owen loves showing it to his friends. We have various ideas for how to extend it, including adding a camera, microphone, speaker, touch screen, and maybe even a robot arm.
The great thing about building a robot using a Raspberry Pi and 3D printer is there are pretty much no limits to what components you can connect to it. You can connect it to cameras, 3d time-of-flight cameras, gyroscopes, touchscreens, microphones, and powerful motors. For intelligence, you can use tensorflow lite, openCV, or AI APIs over the internet.
Let me know if you have any questions. I’d love to help others who want to build something similar.
Thanks Rob for sharing all this in details. This is so cool! I am currently having fun teaching my 6yo daughter to build React apps with Cursor, but after reading this I think I need to add some
hardware to our routine...
Hmm looks like that post did quite well. Maybe I should talk about some of my builds 🤔